


How to Repair a Hole in Denim Without a Trace!
This article is a how-to on denim repairs, where I explain what you need, how to do it, and tips to make the process go smoothly!


Sewing machines and matching thread make beautiful magic together. Over the past few months, I have been learning how to repair clothes, and one of the most useful methods that I have come across is how to repair a hole in denim.
What you’ll need
If you’re about to start this endeavor with your own pair of jeans (or other denim garments!), there are some important tools to make sure you have!
Denim with a hole
Scrap piece of fabric (non-stretch material, and make sure that it’s thin!)
Sewing machine
Thread that matches your denim
Denim needle for sewing machine
Fabric scissors
Iron (optional, but recommended)
She-believed-she-could-sew-she-did attitude
Helpful tip: It really is important to use a sewing machine needle that is specifically for Denim, as it will be stronger and more durable with the heavy fabric, especially considering you will have an extra piece of fabric underneath!
Getting Started
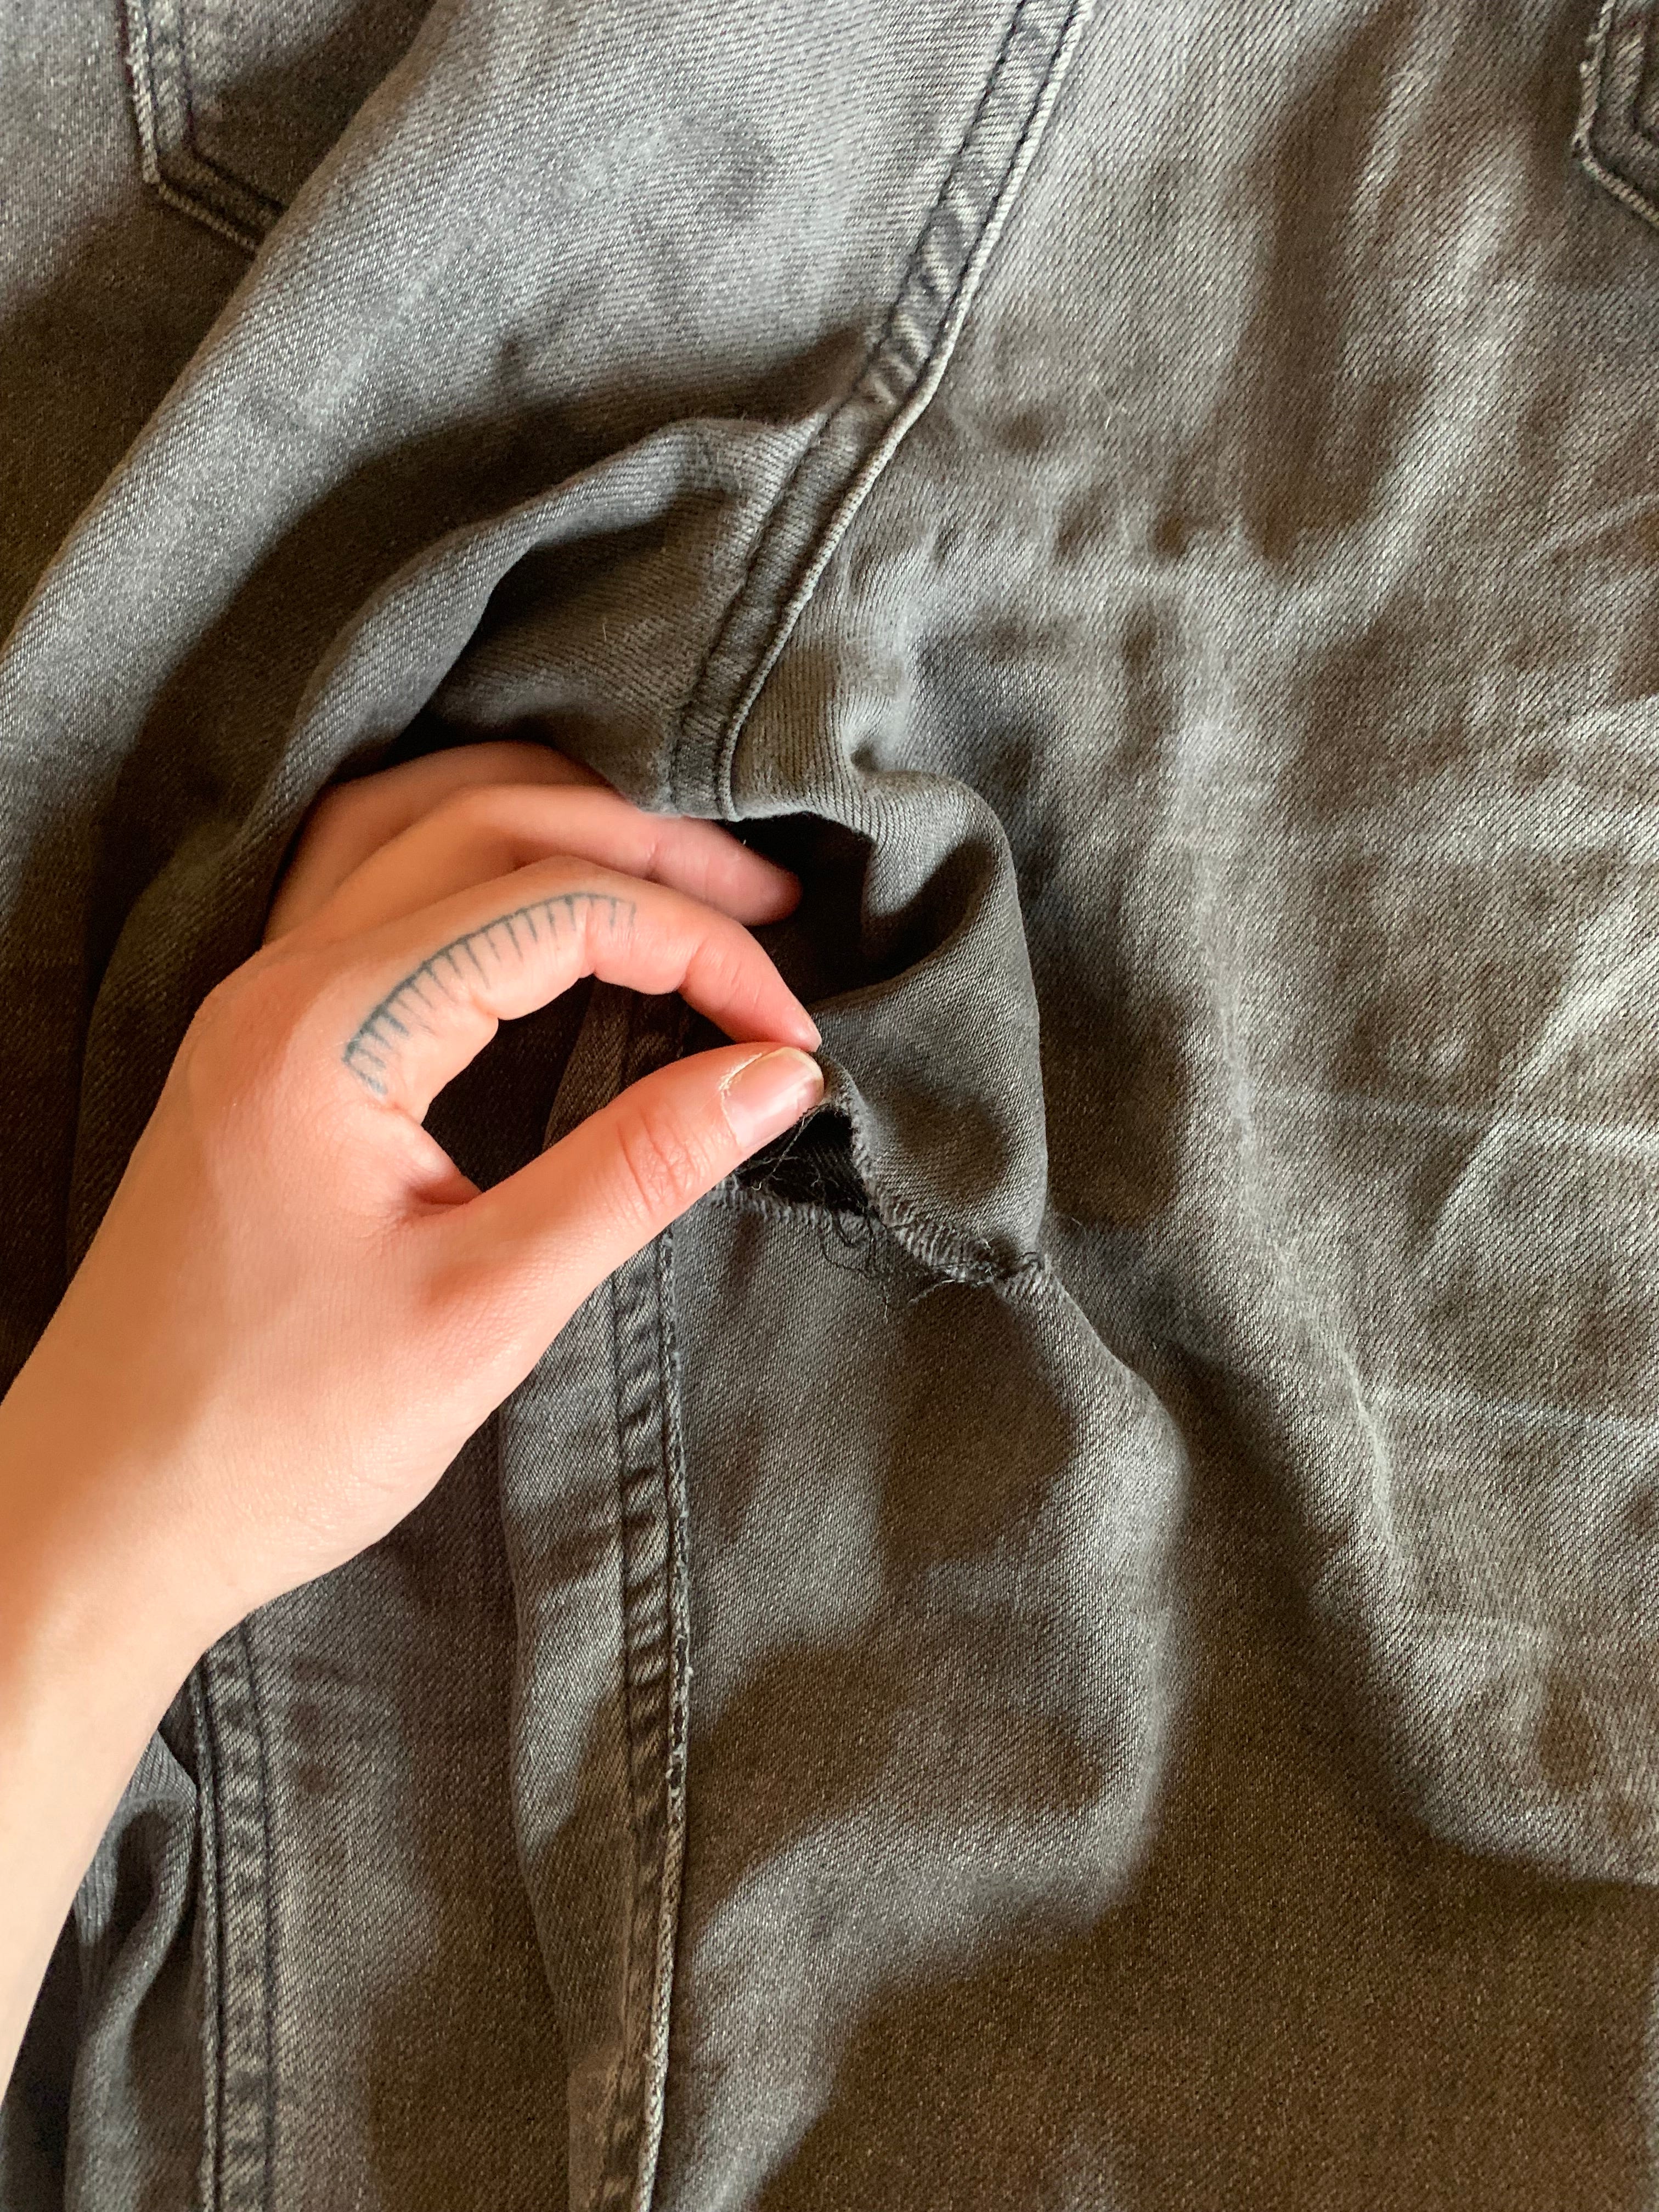
Identifying the hole and how it has ripped is the most important part of the repair. This rip was horizontal on the inside of a pant leg, but this method can be used for less severe rips too!
Helpful tip: Pay attention to the grain of the fabric, and keep this in mind when you begin to sew (you’ll want to sew in the same direction as the grain to allow for the least visibility of the repair).


Next, find a piece of scrap fabric and cut it to be half an inch larger than the rip, on all sides. Iron the piece to make it as flat as possible, and pin it to the inside of the denim being repaired.
Helpful tip: Be careful not to pin all the way through the jeans, and only pin to the side that has the hole on it. Sometimes, when working with this type of pinning, I put a small book in the leg of the jeans. This prevents the pins from going through to the other side, and allows for easy work!
Once you have pinned the scrap fabric to the inside, turn the jeans to the right side and make sure that the rip is as closed and flat as possible.
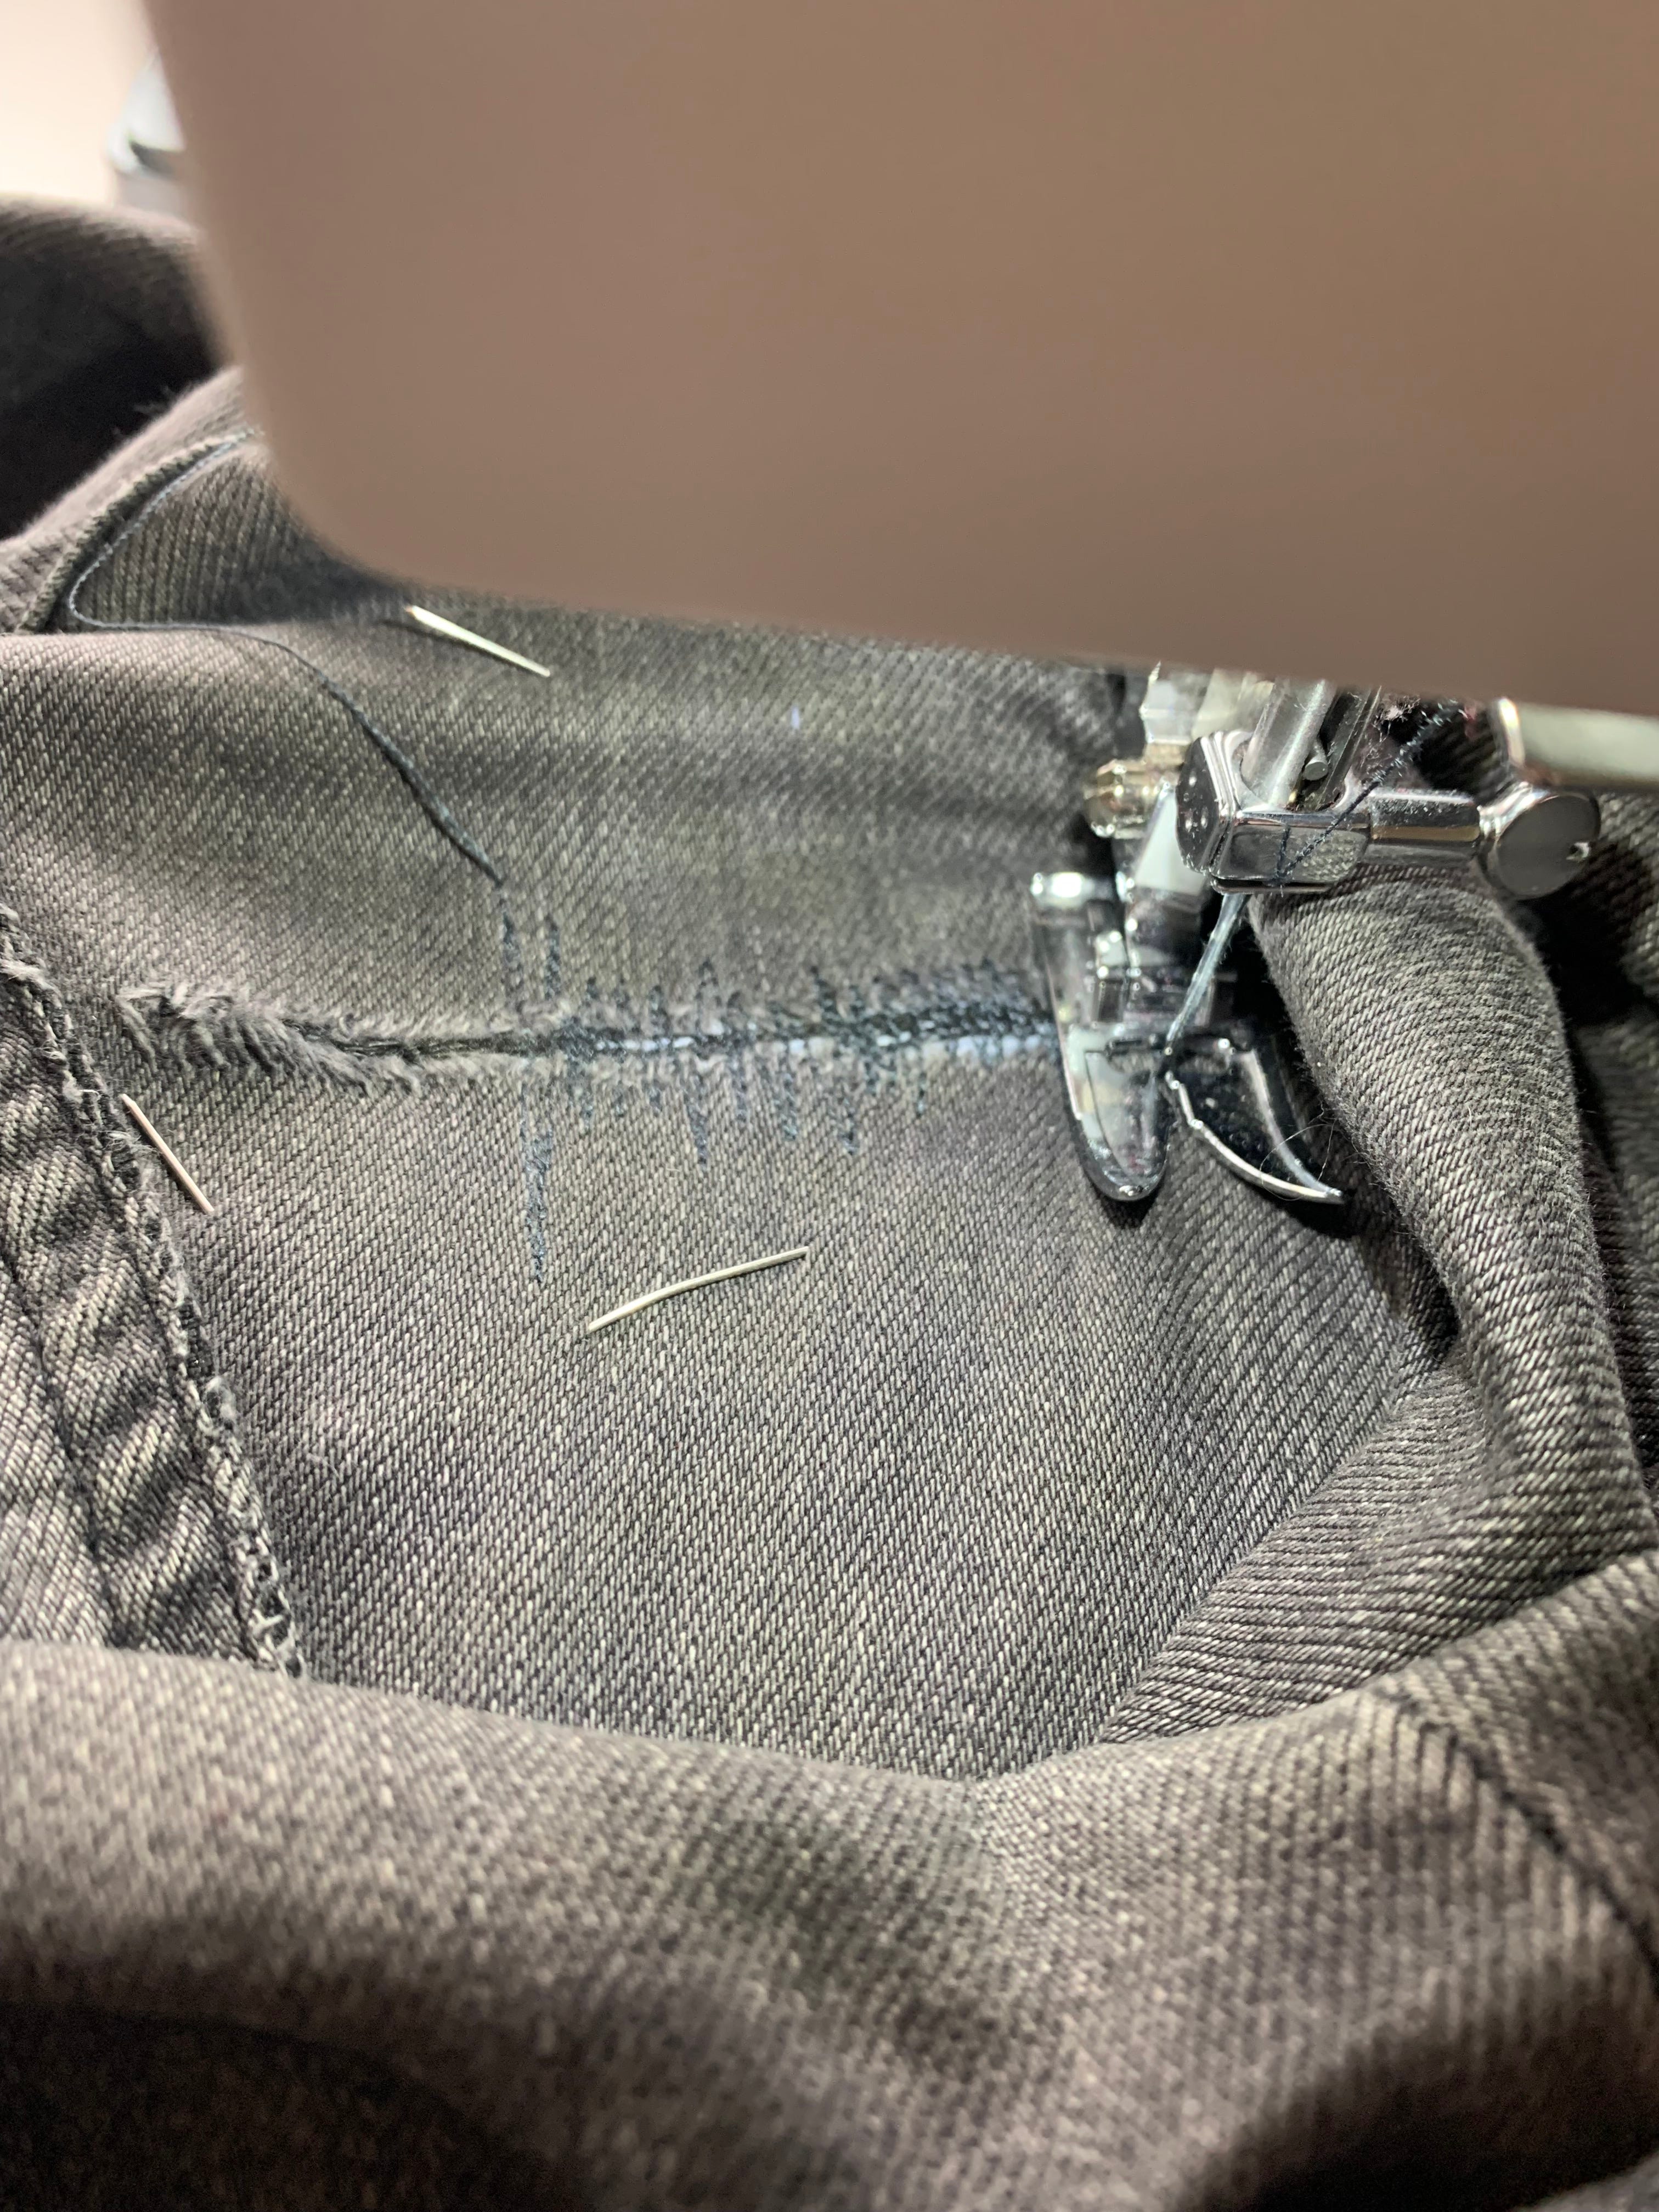
Once you have it all pinned, it’s time to start sewing! I just used a regular straight stitch and went back and forth over the rip, slowly moving from one side to the other, and repeating. I kept the pins in place for the first round of stitches, and as soon as it was securely sewn once, I removed the pins. I continued the straight stitch method several times until the rip was secure and mostly invisible.
Helpful tips: When the pins are still in place, be very careful not to run them over with your needle.
Take it slow! Rushing the method could lead to crooked stitches and/or broken needles.


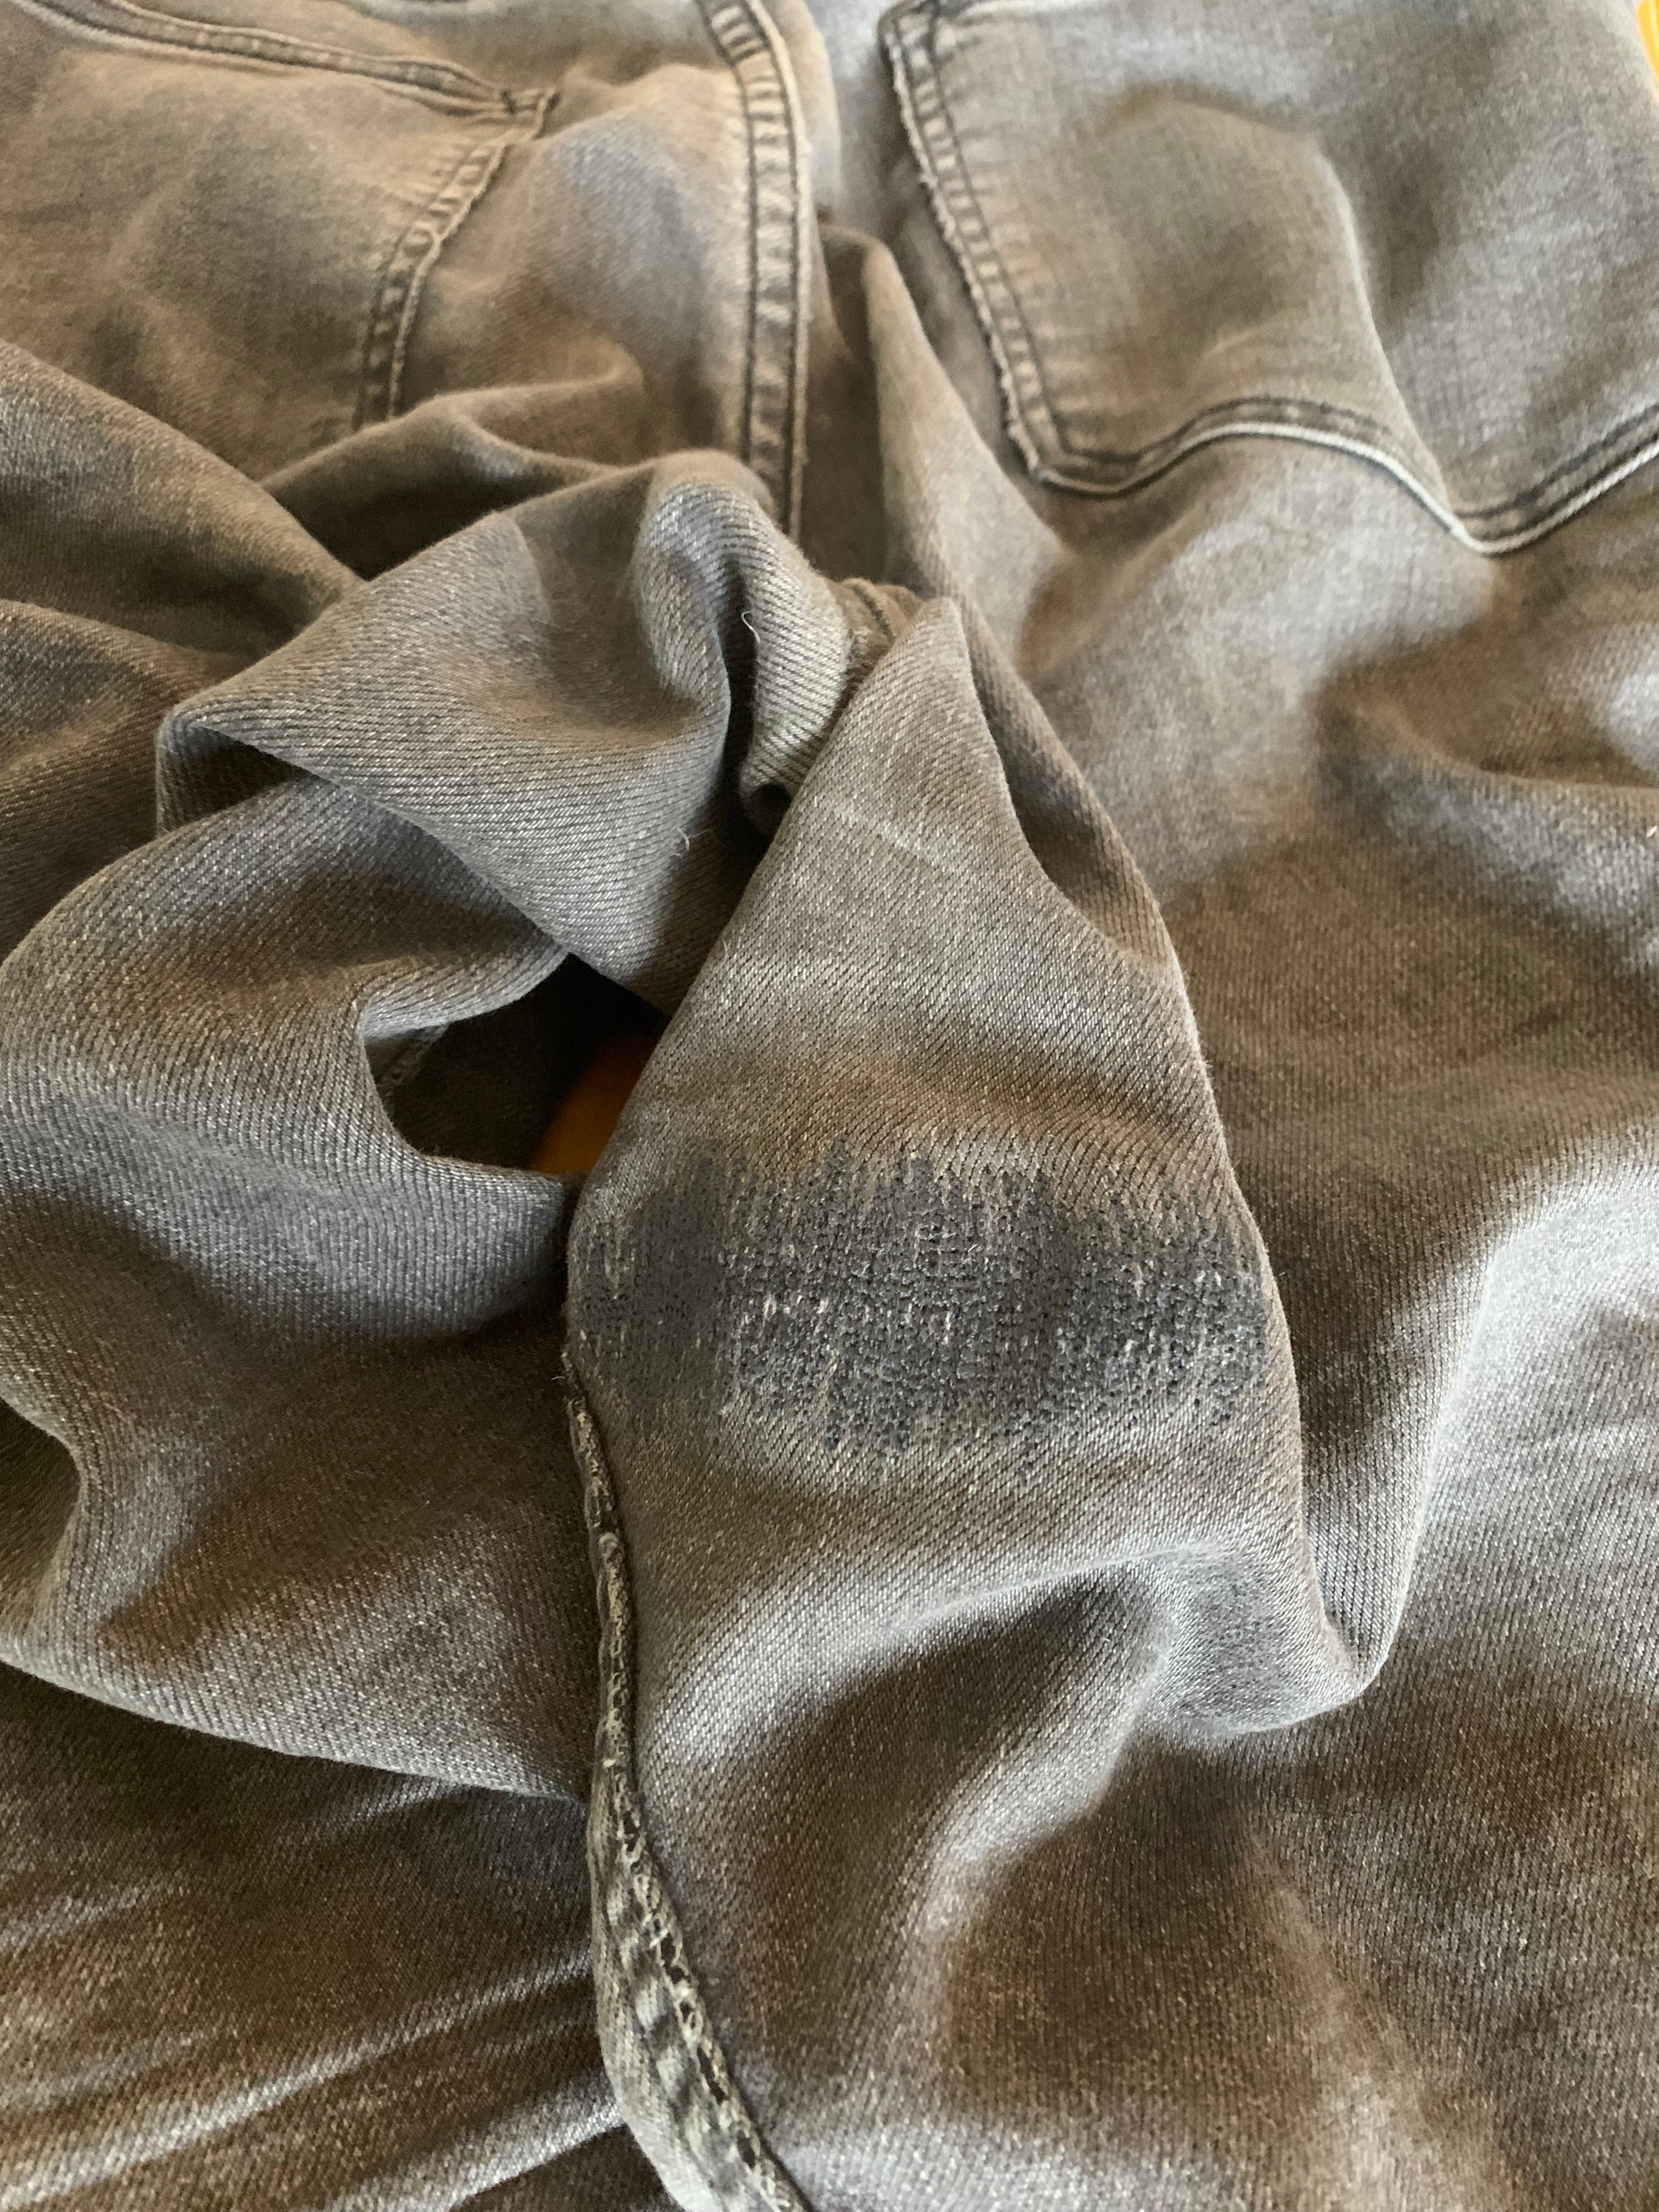
The final two steps to this process are to cut the excess fabric on the inside of the jeans, and to iron the patch so that the stitches are even more secure!
Some Final Words
This whole process took me about half an hour to do, and although it may seem daunting at first, it is fairly easy once you get started. Tag me on Instagram @anne_upcycled so that I can see what you repair!
I’ve started listening to audiobooks from the library while I sew. I find it more calming than music, but not as distracting as tv shows/movies. I’ve been listening to The Assassin’s Blade by Sarah J. Maas, and I love it! Let me know what you listen to/watch while you sew in the comments below!